Today I am showing you how I usually sew my journals. I learned this technique in school when I was about 13 or 14 years old, and I have been using it ever since.
Começamos por fazer os caderninhos (conjuntos de folhas dobradas) que vão formar o nosso caderno. Com um lápis, marcamos na lombada de cada conjunto, 2 cm de cada borda e 3,5cm de cada borda para o centro (como mostra a foto).
We start by making the signatures (set of folded pages) that will form our journal. With a pencil, on the spine of the signatures, we mark 2cm and 3.5cm from each side to the center (as shown in the photo).

Com um tira-linhas de costura (ou um furador ou até um alfinete), faz-se um furo através das folhas nos pontos marcados (ver foto).
With a seam ripper (or a manual drill or even a pin), punch holes through the signatures where the markings are (see foto).

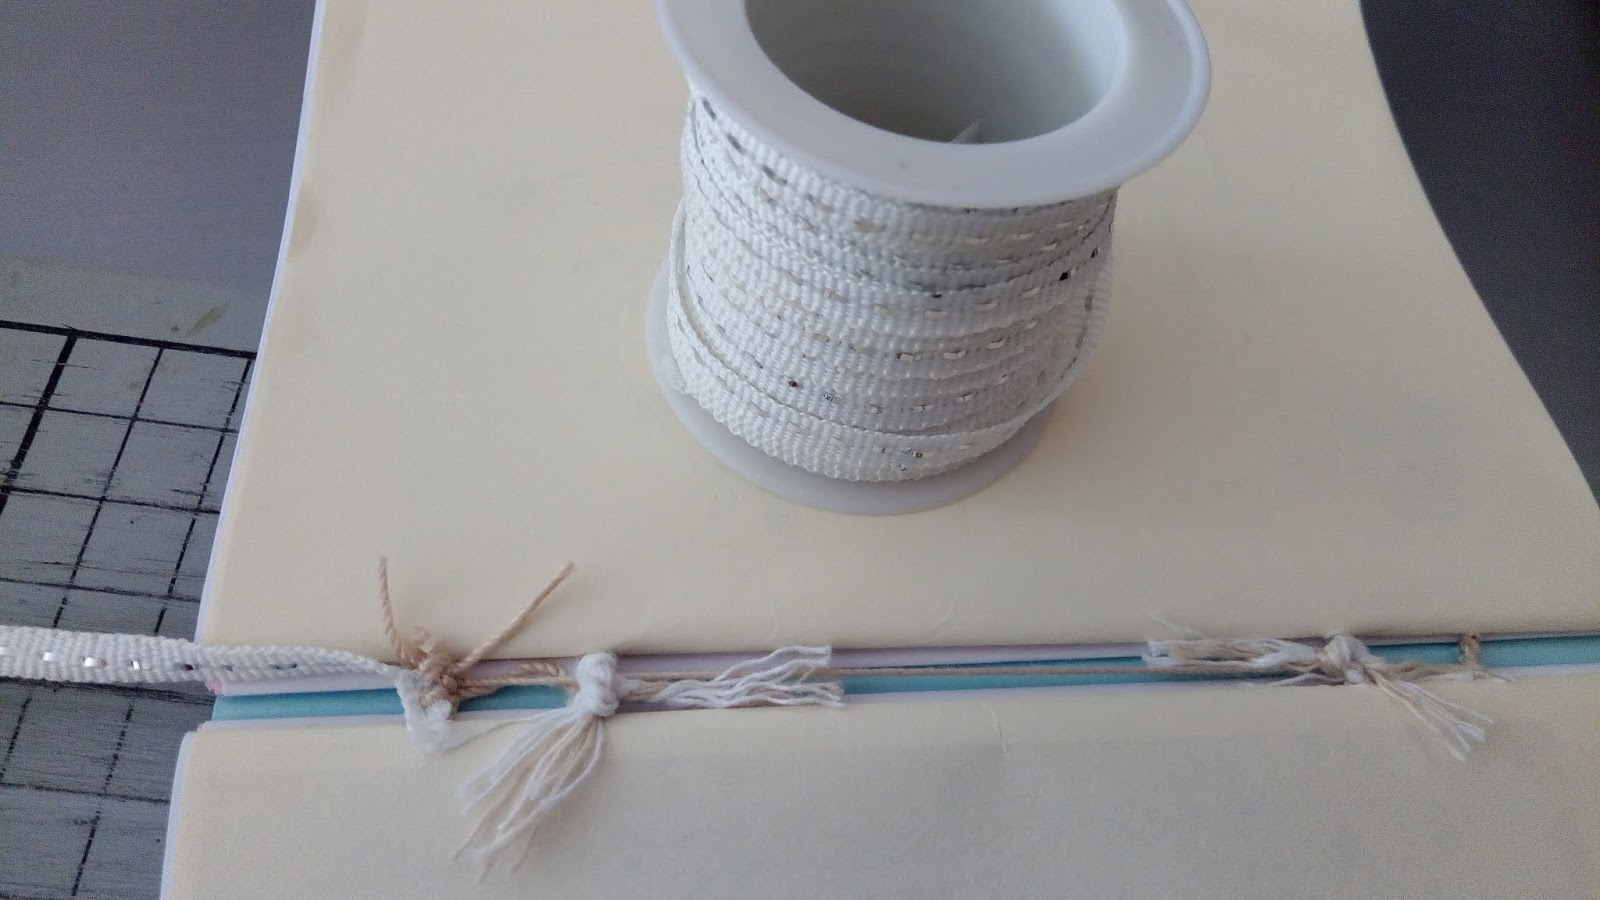
Eu costumo utilizar linha de croché nº 12 ou 10, mas desta vez utilizei nº 6 (mas ficou demasiado grossa). O comprimento da linha é o comprimento de cada caderninho e mais um excesso. Usei ainda duas tiras de barbante que provou ser demasiado grosso. Normalmente utilizo linha de sisal que é bem mais fina.
Eu usually use no. 12 ou 10 crochet thread, mas this time I used no. 6 (but it was too thick). The length of the thread you'll need is the length of each signature plus an excess of thread. I used two pieces of baker's twine which proved to be too thick. Normally, I'll use a sisal (rope) thread which is much thinner.

Depois começa-se a costurar o primeiro caderno com a linha comprida. Passa-se a linha de fora para dentro do caderno deixando um bocado de linha do lado de fora, e passando no buraco mais da borda de um dos lados da lombada (ver foto). Do lado de dentro passa-se a linha para fora no próximo buraco e volta-se a passar no mesmo buraco fazendo uma arco (ver a segunda foto de baixo).
Now, we begin sweing the first signature with the long thread. Thread from the outside to the inside of the signature leaving a piece of thread on the outside, and threading into the hole more on the edge of one side of the spine (see photo). On the inside pull the thread to the outside, through the next hole and thread through the same hole again making a loop (see second photo below).
Coloca-se uma tira do barbante e puxa-se o fio por cima do barbante, apertando bem. Os barbantes vão ajudar a unir os cadernos. Do lado de dentro passa-se a linha no próximo buraco para fora e volta-se a passar no mesmo buraco fazendo um arco. Coloca-se a segunda tira de barbante e puxa-se a linha por cima para apertar bem (terceira foto de baixo).
Put one piece of twine and pull the thread over it, tightening it well. The twine will help to keep the signatures together. On the inside, pull the thread through the next hole to the outside and thread again through the same hole making a loop. Put the second piece of twine and pull the thread over it tightening well (third photo below).


Passa-se a linha no último buraco para fora.
Thread in the last hole to the oustide.


Agora vamos unir o segundo caderno ao primeiro. É preciso termos atenção com o topo do caderno para não ficarem uns virados para cima e outros virados para baixo. Começamos por passar a linha dos dois primeiros buracos do segundo caderno (ver foto).
Now we will join the second signature to the first. It is important to be careful with the top of the journal so that we don't end up with signature facing upwards and signatures facing downwards. We begin by pulling the thread through the first two holes of the second signature (see photo).

Puxa-se a linha bem para unir os caderninhos. Usa-se a mesma técnica de cima, puxando a linha no mesmo buraco por cima do barbante (ver segunda photo de baixo).
Pull on the thread to tightly join the signatures. Use the same technique as before, pulling the thread through the same hole over the twine (see second photo).


Passe a linha no último buraco e faça um nó apertado com o bocado de linha do outro caderno.
Pull the thread through the last hole and make a tight knot with the piece of thread left on the first signature.

Costure o terceiro caderno da mesma forma e quando chegar ao fim dê uma laçada na costura a unir os dois primeiros cadernos.
Sew the third signature the same way and after threading through the last hole, loop through the stitch holding the first two signatures together.


Vá costurando os cadernos da mesma forma. No fim reforce as costuras na lombada com laçadas e dê um nô nos barbantes.
Sew the remaining signatures the same way. In the end, strengthen the stitches in the spine by looping through then and make knots with the twine.

Aqui vê-se que os cadernos ficaram com espaços devido sobretudo à grossura dos barbantes.
Here you can see that the signatures were tightly joined mainly due to the thickness of the twine.

Detalhe de costura da fita na lombada.
Detail on joining the ribbon to the spine.

~*~*~*~
Aparta-te do mal e faze o bem; e terás morada para sempre.
Porque o Senhor ama o juízo e não desampara os seus santos; eles são preservados para sempre; mas a semente dos ímpios será desarraigada.
Depart from evil, and do good; and dwell for evermore.
For the LORD loveth judgment, and forsaketh not his saints; they are preserved for ever: but the seed of the wicked shall be cut off.
~*~*~*~
Nunca teria paciência para fazer tudo isso!
ResponderEliminarAdmiro a tua paciência , criatividade e perfeição.
Beijinhos.